
Many people spend hours and significant money on complicated skincare routines, only to feel frustrated when their skin still looks tired or lacks that healthy glow. Daily stress, environmental factors, and the natural aging process can leave skin feeling dry, rough, and less vibrant than desired. What if a straightforward approach using items you likely already have at home could support your existing routine and help your skin appear smoother and more refreshed?
That’s exactly why this two-ingredient combination shared by many grandmothers is sparking interest online. In the sections below, you’ll learn the full details, including why these ingredients are popular, how to prepare the mix safely, and practical ways to incorporate it into your care regimen.
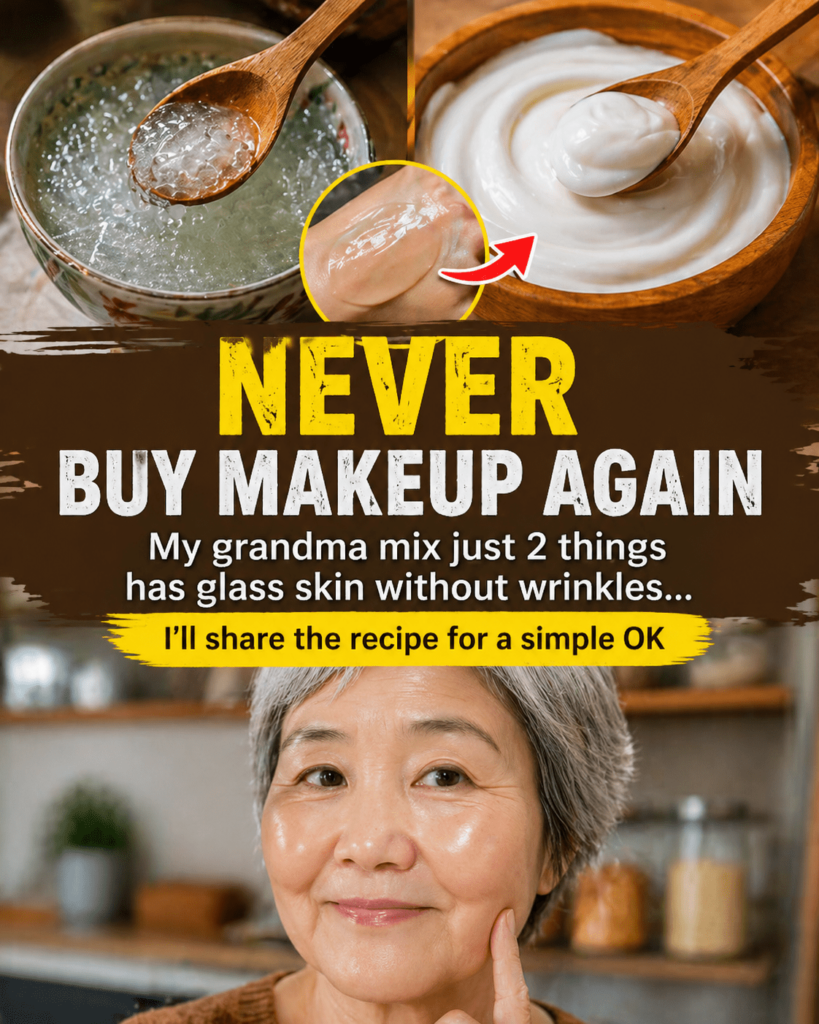
Yogurt and Salt Face Mask: A Simple DIY Skincare Treatment
Simple ingredients are getting more attention in skincare as more people look for gentle, affordable options that fit into busy lifestyles. Among the most popular homemade treatments is a two-ingredient face mask made with plain yogurt and sea salt or Himalayan salt.
This easy mixture combines mild exfoliation with hydration support and can help skin feel smoother and look brighter when used carefully.
Why Simple Ingredients Are Popular in Skincare
Many people are choosing natural ingredients because they are:
- Affordable
- Easy to find
- Free from unnecessary additives
- Simple to prepare at home
Plain yogurt and mineral salts have long histories in traditional skincare routines around the world.
Key Ingredients and Their Benefits
Plain Yogurt
Plain, unsweetened yogurt contains:
- Lactic acid (a gentle alpha hydroxy acid)
- Proteins
- Healthy fats
These components may help:
- Exfoliate dead skin cells
- Soften the skin
- Improve moisture retention
Sea Salt or Himalayan Salt
Salt provides:
- Gentle physical exfoliation
- Trace minerals such as magnesium
When used sparingly, it can help remove rough, dull skin.
How to Make the Yogurt and Salt Face Mask
Ingredients
- 2 tablespoons plain, unsweetened yogurt
- 1 teaspoon fine or medium sea salt or Himalayan salt
Instructions
- Combine the yogurt and salt in a small bowl.
- Stir until you get a smooth, slightly grainy paste.
- Apply a small amount to the inside of your wrist as a patch test.
- Wait 24 hours to ensure no irritation occurs.
How to Use
- Clean your face with a gentle cleanser.
- Apply the mixture to damp skin.
- Massage gently in circular motions for 30 to 60 seconds.
- Avoid the eye area.
- Rinse with lukewarm water.
- Pat your skin dry.
- Apply a moisturizer.
Frequency
Use once a week to start.
Potential Benefits
People who use this mixture often report:
- Smoother-feeling skin
- Brighter appearance
- Softer texture
- Mild exfoliation
Yogurt and Salt vs. Commercial Scrubs
| Feature | Yogurt + Salt | Store-Bought Scrubs |
|---|---|---|
| Cost | Very low | Moderate to high |
| Ingredient control | Complete | Depends on the brand |
| Customization | Easy | Limited |
| Fragrance | Naturally mild | Often added |
Additional Tips for Healthy-Looking Skin
- Use sunscreen daily.
- Stay hydrated.
- Get enough sleep.
- Eat a balanced diet rich in fruits and vegetables.
- Manage stress levels.
Optional Add-In
You can add 1 teaspoon of honey for extra hydration.
Frequently Asked Questions
Is this suitable for all skin types?
It is generally better suited for normal to combination skin. People with sensitive, acne-prone, or compromised skin should use extra caution.
Can I use it around my eyes?
No. The eye area is delicate and should be avoided.
How soon will I notice results?
Many people notice smoother skin after the first use, while visible improvements in brightness may appear over several weeks of consistent care.
Final Thoughts
A simple yogurt and salt face mask is an affordable DIY treatment that may help exfoliate and soften the skin. While it is not a miracle solution, it can be a useful addition to a balanced skincare routine when used gently and consistently.
Always monitor how your skin responds, and consult a dermatologist if you have any concerns or existing skin conditions.
Disclaimer: This article is for informational purposes only and is not intended as medical advice. Results vary from person to person. Consult a qualified dermatologist before trying any new skincare treatment, especially if you have sensitive skin or a skin condition.